Plan a campsite unload route before opening every vehicle door
Unloading becomes confusing when all equipment reaches the ground before anyone knows where it belongs. Plan the short route from vehicle to permitted pitch. This is an access and organization exercise for an established campsite, with site rules and personal mobility needs shaping the arrangement.
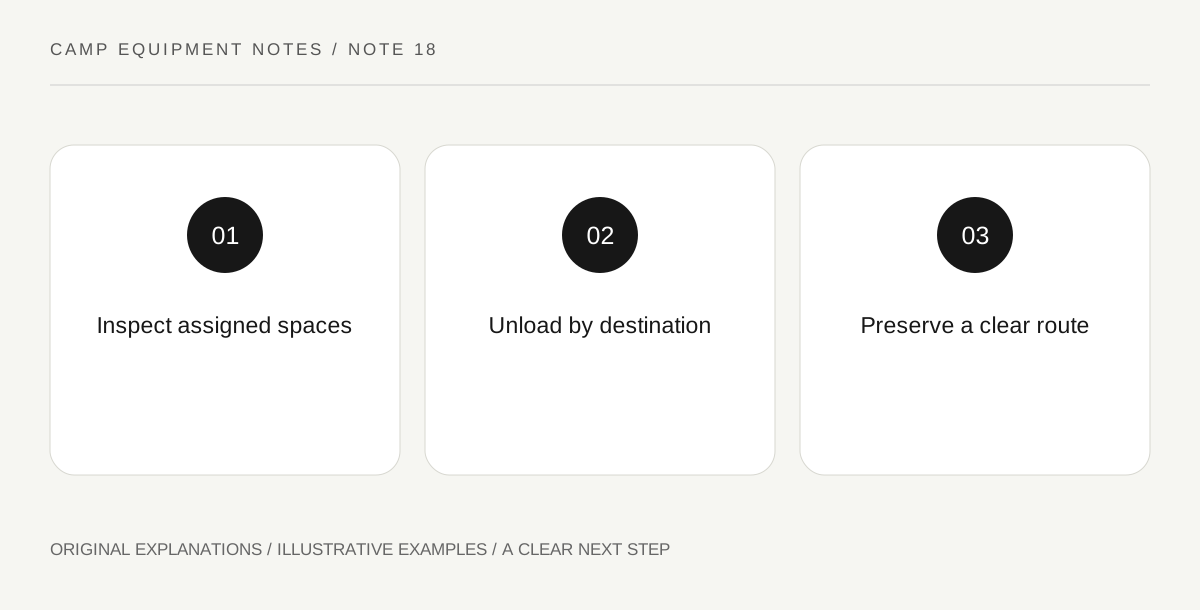
Original explanatory diagram. Read the full method and limitations below.
Inspect the permitted spaces first
Identify parking, tent area, table, facilities route and any supplied storage. Read the site notices before spreading equipment out. NPS advises attention to hazards such as falling branches and changing weather; an attractive patch of ground is not sufficient evidence that it is the right setup area. Keep vehicle access and emergency movement clear. If the assigned site does not support the group's needs, seek staff guidance rather than expanding into neighboring or protected ground.
Unload only the first working group
Retrieve the items needed to begin the supported setup and leave unrelated objects secured in the vehicle where appropriate. This avoids creating a broad obstacle course of bags. Keep food and scented items moving toward the site's required storage arrangement, not temporarily into the tent for convenience. Each object should have a deliberate destination. If there is no suitable place for it yet, pause and create the next step rather than placing it in a walking route.
Match the carrying plan to the people
Assess load shape and handling, including awkward handles and bags that need two people. Use suitable assistance and equipment rather than treating heavy unloading as a test of speed or strength. Keep children and pets away from the active vehicle and handling area. Someone with mobility needs should be included in planning the route and access to their essential belongings. A route that looks short on a map can still involve a difficult step or surface.
Preserve the return route
Do not allow the growing setup to block the space needed to repack safely later. Keep empty bags together and store them appropriately. Before departure, reverse the sequence with dirty and damp items handled separately, then inspect the pitch for small forgotten objects. The goal is a clear transfer between known locations. A successful unload plan should be easy to explain in one or two sentences, not depend on constant directions from one organizer.
Illustrative worked example
Illustrative scenario: four adults arrive with several bins and a large shelter bag. They first inspect the assigned area and identify a clear transfer path. The shelter components come out together, while the table kit waits until there is a suitable surface. A food container goes directly to the required storage. Empty bags stay together for departure. This reduces repeated handling without making assumptions about what any particular person can lift.
Questions that come up
Should everything leave the car immediately?
Only when the situation and rules require it. A staged unload often makes the work clearer, while food, valuables and sensitive equipment need their own appropriate handling.
Can I use a neighboring empty pitch temporarily?
Do not assume it is available. Follow the campground's allocated boundaries and ask staff if the assigned arrangement creates a problem.
References and scope
These sources support the factual background. Examples and exercises are original illustrative teaching material. References do not imply endorsement.
- NPS: Finding and Setting Up a Campsite — Designated campsite selection, local requirements and environmental hazards.