Arrange a camping bin so the first-needed item is reachable
A neatly filled bin can still be badly packed if the first item needed at camp lies underneath everything else. Build an access sequence from arrival to departure. The goal is a container that supports the trip's actions rather than a photograph of perfectly nested equipment.
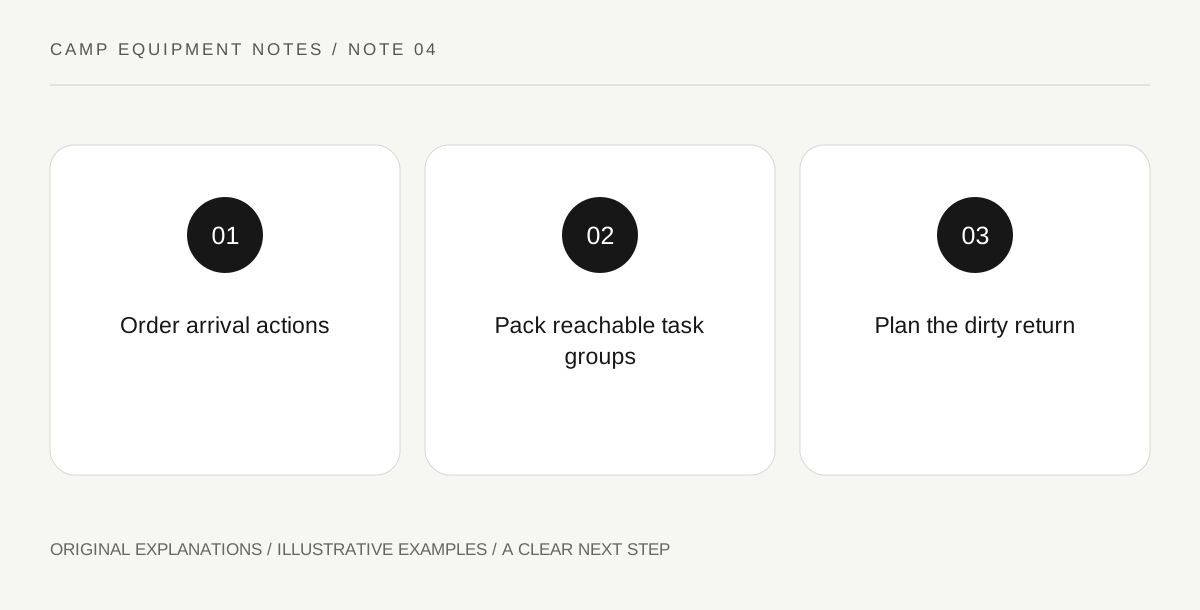
Original explanatory diagram. Read the full method and limitations below.
Write the arrival sequence
Imagine arriving at an established campsite during daylight. What will you need before opening the rest of the load: reservation details, shelter parts, a suitable light or a change of footwear? List these actions in order. Do not mix the sequence with a general inventory. An inventory proves an object is present; an access plan proves you can obtain it without unloading unrelated gear or balancing loose items in a vehicle doorway.
Use shallow groups with clear boundaries
Group small objects by a task that happens together. Table-setting items can share one pouch, while maintenance items stay separate from food-contact tools. A series of unmarked identical bags simply moves the search problem inside the bin. Labels should identify contents in ordinary language and remain useful to someone who did not do the packing. Avoid containers so large that reaching one item requires lifting a heavy mixed load repeatedly.
Protect closures and fragile shapes
Place items so lids, handles and delicate components are not carrying the weight of the contents above them. Follow each product's transport restrictions, particularly for batteries, fuels or pressurized equipment; they may not belong in the same general bin at all. Check that the storage lid closes naturally. A latch under constant strain is a sign to repack rather than a reason to squeeze harder or sit on the container.
Leave a route for the return load
Departure rarely recreates the clean departure-day shapes. Allow separate handling for damp, dirty or damaged equipment and keep it away from items that must remain clean. A small written unpacking note can identify what needs attention first at home. The bin becomes useful again only after that work is done. Resist hiding unfinished drying or cleaning inside a sealed container just because the outside then looks orderly.
Illustrative worked example
Illustrative scenario: a pair of campers packs utensils and tablecloth above the shelter bag because the shapes stack neatly. During rehearsal they discover that the shelter is needed first. They move the table items to a removable side pouch and keep the shelter package directly accessible. On return, a separate temporary bag carries damp fabric for immediate drying. The revised layout follows the actual order of work without adding a larger bin.
Questions that come up
Should a bin always be completely full?
A little usable space can make access and return packing easier. Choose a sensible container rather than filling gaps with equipment you have no planned use for.
Can clear bins replace labels?
Visibility helps, but nested objects can still hide contents. A short label describing the task group makes the system understandable even when the bin is stacked.
References and scope
These sources support the factual background. Examples and exercises are original illustrative teaching material. References do not imply endorsement.
- NPS: Finding and Setting Up a Campsite — Designated campsite selection, local requirements and environmental hazards.
- Cascade Designs: Keeping an MSR Tent Clean and Dry — Model-specific tent cleaning and thorough drying; not a universal cleaner recipe.