Dry a tent after a trip when you have no garden
Wet-pack departure is sometimes unavoidable; leaving the tent packed afterward is a separate decision. A small home needs a drying plan that opens folds and protects household surfaces. Work from the tent's care instructions and the space you can actually use.
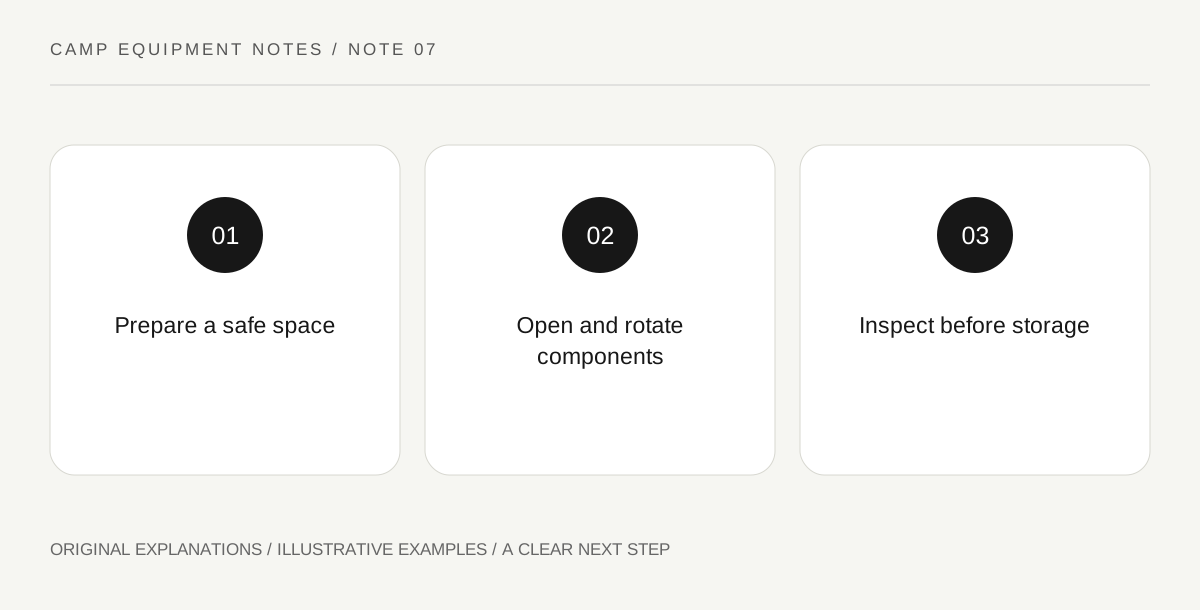
Original explanatory diagram. Read the full method and limitations below.
Reserve drying space before the trip
Identify an indoor or sheltered location where the fabric can spread without blocking an exit or touching a heater. Consider where drips will go and whether the support arrangement can safely carry the damp material. You do not need to recreate the campsite pitch if the maker permits another drying method. You do need access to all the folded areas. Planning this space beforehand avoids treating a tightly closed bag as the only available option.
Unpack the hidden damp components
Separate the fly, inner, groundsheet and accessory bags as appropriate to the model. A surface can feel dry while seams or overlapping fabric remain damp. Lay components out so you can inspect both sides and change their position as needed. Keep dirty stakes and wet fabric away from clean sleeping equipment. Take the opportunity to account for small components while they are visible, rather than discovering a missing attachment immediately before the next trip.
Use time and airflow within the instructions
Follow the manufacturer's drying guidance and avoid direct heat or an improvised machine cycle. Cascade Designs emphasizes allowing an MSR tent to dry thoroughly before storage. Check protected folds, reinforced corners and packed accessory pockets rather than relying on a fixed number of hours. Temperature, humidity and the initial moisture vary. If space is limited, rotate the hanging arrangement so compressed sections do not remain pressed against each other throughout the process.
Store only after a complete inspection
Once every component is dry, inspect for dirt or damage that needs the maker's approved care route. Use a storage arrangement appropriate to the tent rather than compressing it for another journey that is months away. Label any unfinished repair clearly and keep it on the trip-preparation list. A dry tent with a known fault is easier to manage than a neatly packed tent whose condition nobody remembers.
Illustrative worked example
Illustrative scenario: an apartment camper has one utility room and no outdoor pitch. Before leaving, they arrange a suitable protected drying area. On return, the fly and inner are separated and repositioned until corners and overlapping sections are dry. The stake bag is cleaned separately. The final storage note records one bent stake for replacement. This sequence solves a space constraint without claiming that a particular drying duration works in every home.
Questions that come up
Can I wait until next weekend?
Unpack promptly and follow the maker's care advice. Damp storage can damage a tent; postponement should not become the routine simply because the bag is out of sight.
Does the tent have to stand fully assembled?
Use the model's supported drying methods. The practical requirement is thorough drying without stressing fabric or obstructing household safety, rather than reproducing one universal setup.
References and scope
These sources support the factual background. Examples and exercises are original illustrative teaching material. References do not imply endorsement.
- Cascade Designs: Keeping an MSR Tent Clean and Dry — Model-specific tent cleaning and thorough drying; not a universal cleaner recipe.