Inspect tent pole joints before putting the frame under tension
A tent pole can look assembled while one joint remains only partly engaged. Inspect the frame before bending it into its working shape. This is a careful setup habit based on the exact tent instructions, with attention to dirt, alignment and the difference between guidance cord and structural connection.
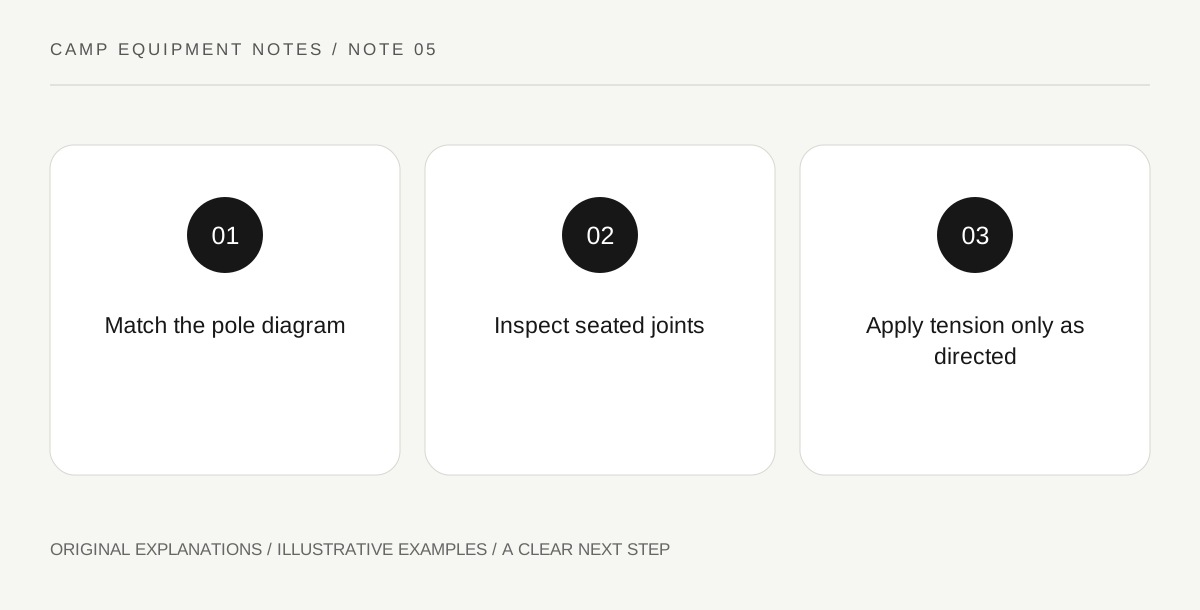
Original explanatory diagram. Read the full method and limitations below.
Identify the pole map
Lay out the pole sections on a clean suitable surface and compare them with the model's diagram. Some tents have different lengths, shaped sections or hubs that must face a particular way. Keep those distinctions visible rather than assuming every section is interchangeable. If a borrowed shelter lacks its instructions, obtain the correct manual before the trip. A similar-looking model can use a different assembly order or connection detail.
Seat each connection deliberately
Assemble the sections by hand without allowing them to snap together at speed. Look and feel for full seating at each joint before applying the bending force required by the design. MSR's care advice specifically warns about bending poles whose joints are not fully assembled. Treat that as a reason for a slow inspection rather than permission to pull harder when a frame feels unexpectedly short or resistant.
Stop when alignment does not make sense
A section that will not seat may contain grit, have damage or be paired incorrectly. Remove tension and inspect rather than hammering it together or using body weight. Follow the maker's cleaning and repair route for the exact material. Do not straighten a damaged component experimentally and assume its original strength has returned. A visible dent, split or damaged connector belongs in a repair inquiry before the tent is needed overnight.
Pack the pole as a complete component
After the trip, inspect joints and identify any new roughness before storing the frame. Keep the pole bag together with the correct shelter identification so a similar bag cannot silently enter the wrong kit. Follow the maker's advice for disassembly and storage. If parts are replaced, record the specific approved part rather than only the tent's marketing name; a dimensionally similar tube may not be an authorized replacement.
Illustrative worked example
Illustrative scenario: during a home rehearsal, one pole appears shorter than the diagram suggests. A camper notices a joint resting at an angle rather than fully seated. They release the bend, check the connection and assemble it correctly according to the manual. A second inspection confirms the complete frame before pitching. The useful lesson is to resolve the connection, not to compensate by stretching the tent fabric or forcing the pole into its attachment.
Questions that come up
Does the elastic cord carry the tent load?
It helps keep sections organized. The assembled connections and pole structure must work as designed; taut cord does not prove that the joints are correctly seated.
Can a pole from another tent serve as a spare?
Only if the manufacturer confirms compatibility. Similar length alone does not establish the correct diameter, flexibility, joint geometry or structural suitability.
References and scope
These sources support the factual background. Examples and exercises are original illustrative teaching material. References do not imply endorsement.
- MSR: Tent Care Tips — Pole joints should be fully engaged; grit and careless handling can damage zippers.